MENU
close
Have you been looking up at your attic hatch thinking it was time to shake the dust?
Has it been years since you've been inside that subtle space longer than the few seconds it takes to toss a box into its darkened depths?
If so, it might be time for an attic cleaning. With this 10-step guide, we'll help you turn the monumental task into a chore you can manage.
Make sure you follow our checklist in order! We have listed our steps chronologically in order to help you make the process as efficient as possible.
An empty room is the easiest to clean. Before you start pulling out brooms, dusters, and other pieces of your cleaning arsenal, remove the contents of your attic.
This will allow you to clean and inspect every inch of the room, as well as help you sort through items you don't need anymore.
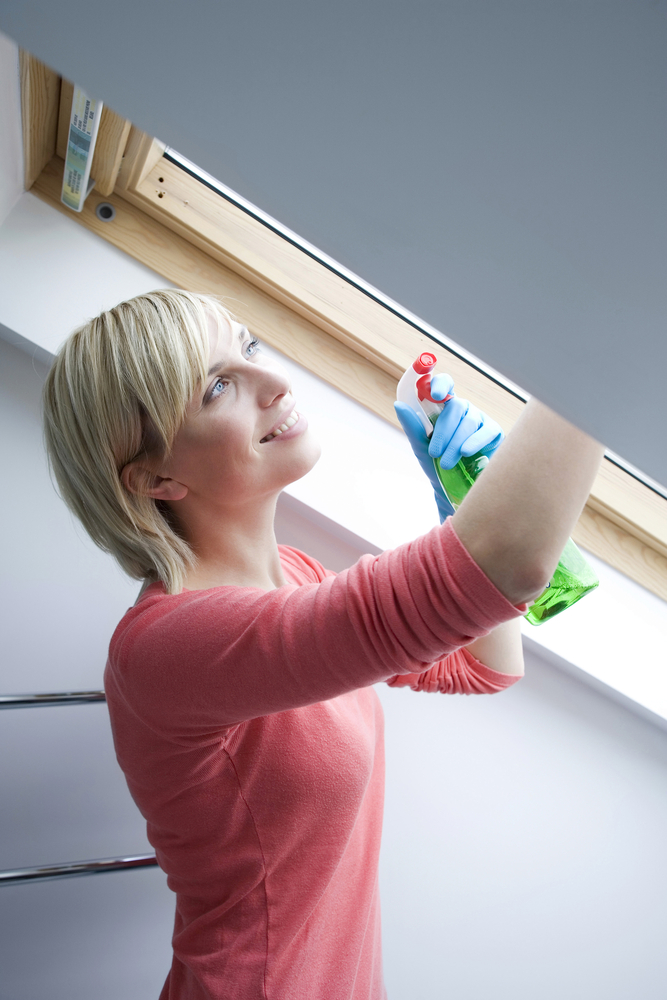
Whether it's been months or years since you've cleaned your attic space, you're likely to find an admirable collection of dust. You'll want to dust every inch, from your windows and frames to any wooden beams, baseboards, walls, and other surfaces.
If the area is really dusty, wear a mask to prevent inhalation. An electrostatically charged duster works best for jobs like this. If it gets too dirty, clean it off before continuing.
Make sure you cover everything, including light fixtures, fans, and hard to reach areas.
When you have a layer of dust and debris on the floor, a broom will stir up more than it cleans. Instead, start with a vacuum. Pick up any large debris that it can't tackle, then suck up what you can from one end of the room to the other.
Keep in mind the type of vacuum you use matters. If you have a high-efficiency bag or canister with a filter, these will work best. Vacuums can capture the dust mites, dead insects, and allergens that settle in quiet attics.
For tight corners and awkwardly shaped areas, use hoses and other vacuum extensions. Be thorough, then follow up with a broom to sweep up any remaining dust and debris.
Once the attic is clean, you'll want to inspect your insulation. If your insulation has fallen below the floor joists, you need to add more. If you can't see the floor joists above the insulation, they are likely below them which is a sign of healthy insulation.
Insulation should be evenly distributed. No gaps or shallows areas should show.
If your insulation shows signs of dampness, mold, or mildew, then you will want to replace it. A good portion of the air in your home circulates through this area. You don't want these substances getting into the air within your home.
Your insulation isn't the only place your attic may be harboring unhealthy mold. Give your empty attic a close and careful inspection.
Mold can come in a variety of colors, from gray and black to brown, orange, green, or white. If your attic smells musty, it's likely growing there.
If you have mold in your home, the best thing to do is call an attic cleaning service. You don't want to risk it lingering or growing out of control, especially if you have any form of asthma or allergies. Left to thrive, mold can cause respiratory problems.
While you're checking every nook and cranny, make a point to identify any sealant issues. If you have a draft coming through a window or open space, it can increase your heating and air bill while making it harder for your unit to do its job.
Pests are also a problem that will need addressing. If you notice signs of rodents, such as excrement or chewed boxes, call in the expert to get rid of the problem.
While you still have everything outside of your attic, now is a good time to sort through it. Get rid of the things you haven't used in years and sort through the items you still intend to store.
Keep these items organized in plastic storage boxes to prevent exposure to the elements. It will also make it easier to store, allowing you to optimize on space.
Do you have a pile of things left over that you realize you don't need? Perfect! Take the time to donate them to your local charity's drop-off location. These good deeds are tax deductible.
Plus, it feels good to recycle your old items and give them a new purpose for someone else.
As you go to put your newly organized items back into your attic for storage, be mindful of where you put them. Place your more frequently used items in easy-to-access areas.
By keeping your attic space organized, you make it easier to sort, retrieve, and clean.
Cleaning the attic shouldn't be a massive undertaking dared every few years. Instead, make it a point to clean it twice a year. This will help you keep the dust and debris under control.
It also helps you keep your home in good shape. When you clean and inspect your attic bi-annually, you maintain its integrity. This will help prevent major repairs in the future, such as damages caused by pests, mold, and mildew.
One of the most challenging aspects of attic cleaning is when we uncover bigger projects lying beneath the dust and knickknacks. If you are cleaning your attic only to realize your insulation needs repairing or you have rodents scurrying around upstairs, pass the task on to the professionals.
Here at Attic Solutions, we deliver exceptional home improvement services to help you create a properly sealed, clean, and insulated attic space. If you live in the San Francisco Bay area and want a free estimate, contact us today.